Sign-in forms for Contact tracing and registering our details every time we visit places is now the “new normal.” We have noticed that many of our clients are still using pen and paper for this. While this works, there is a very easy way to speed up the process for both you and your visitors to your office.
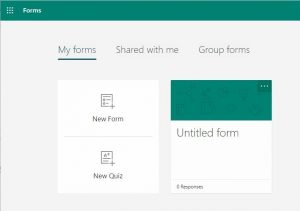
Many users do not realise that Microsoft Forms is included in there Office 365 subscription, which means pretty much every business we know has access to it in one way or another.
Because of this, we wanted to show users how easy it is to use Microsoft Forms to make the sign-in process “contactless” and speed things up along the way.
What is Microsoft Forms?
Microsoft Forms is a simple, lightweight tool that lets you quickly create a form, collect responses in real time, and view automatic charts to visualize your data. You can build a form in minutes, no training necessary and respondents can fill it out on any browser.
With Microsoft Forms, you can create:
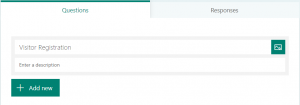
Building the Form
To start using forms, go to https://forms.microsoft.com/ and sign in with your email address and password.
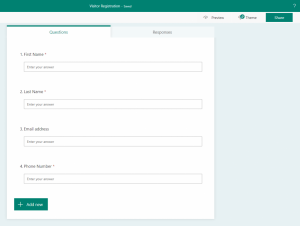
You can also add a description or add a photo as a title instead
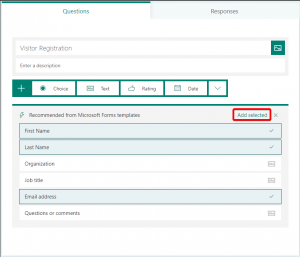
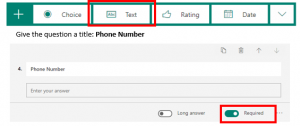
4. To capture the visitor’s phone number, add a form item for this by clicking Add Newand select Text.
Check the box marked Required to ensure the person completes this field.
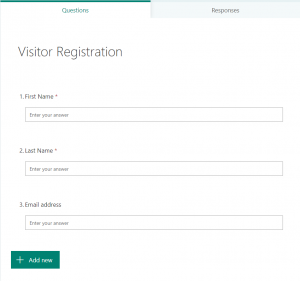
Forms will automatically record the date and time the form was filled out, so there is no need to ask people to enter this, however, you are welcome to add any other questions you wish!
Once the form is built, it’s time to share it so the visitors can complete it.
Sharing the form
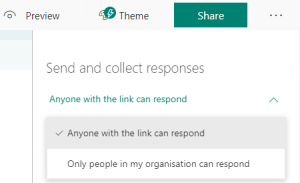
By default, the form will be set to only work for people in your organization. This is obviously not what we want for visitors to your office, so let’s change it to allow anyone to fill out the form.
Click Only people in my organisation can respond to drop the selection box, then select Anyone with the link can respond
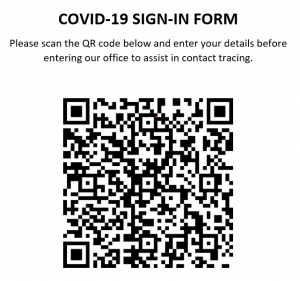
Forms can generate QR Codes that the visitors can scan with their mobile phone.
To generate one, simply click the QR Code button:
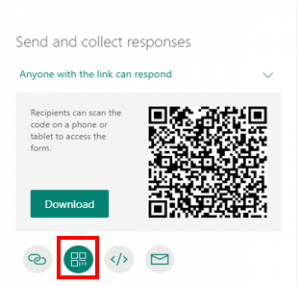
You can download the generated QR Code and insert it into a Word document to create your signage.
A QR code is simple since almost every phone can support scanning it with the built-in camera. That said, there will be visitors that will not be able to utilize this, so we will also create a link to the form.
Using the form
To fill out the form, visitors can simply open the camera app on their mobile and scan the QR code or may enter the shortened URL.
Forms automatically formats the form to fit the end-users device so your form will look great regardless of whether it is viewed on a mobile, tablet or desktop.
You may wish to use an iPad or similar device at reception as a fall back in the event the user has issues with their own device.
If you have any questions or If this is something you would like Tresami to create for you, contact our support team by email support@tresami.com.au